Hey lovelies!
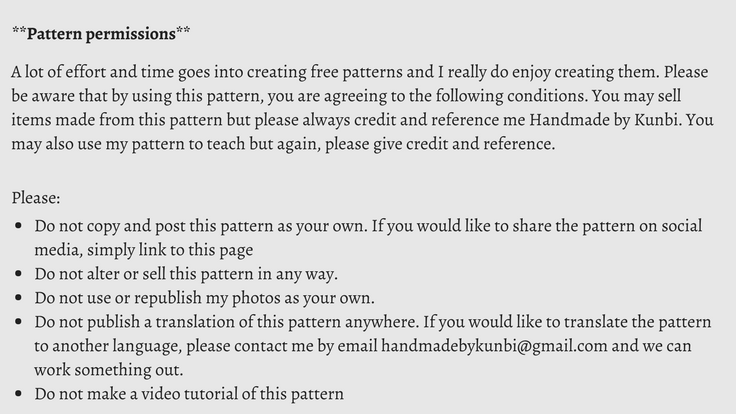
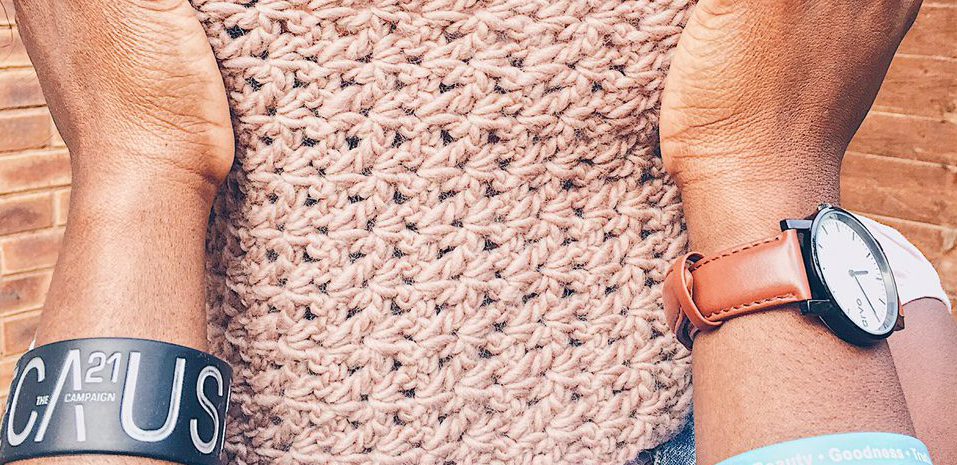
I love lace and open work patterns, and I’m always looking for ways to experiment with them. Since I seem to have a thing for cowls, judging by how many cowl pattern ideas I am currently thinking about, it only made sense to create a lacy cowl pattern. It’s another one skein wonder made with yarn from my stash – The Petite Wool from We Are Knitters – although this time round, it’s a crochet pattern.
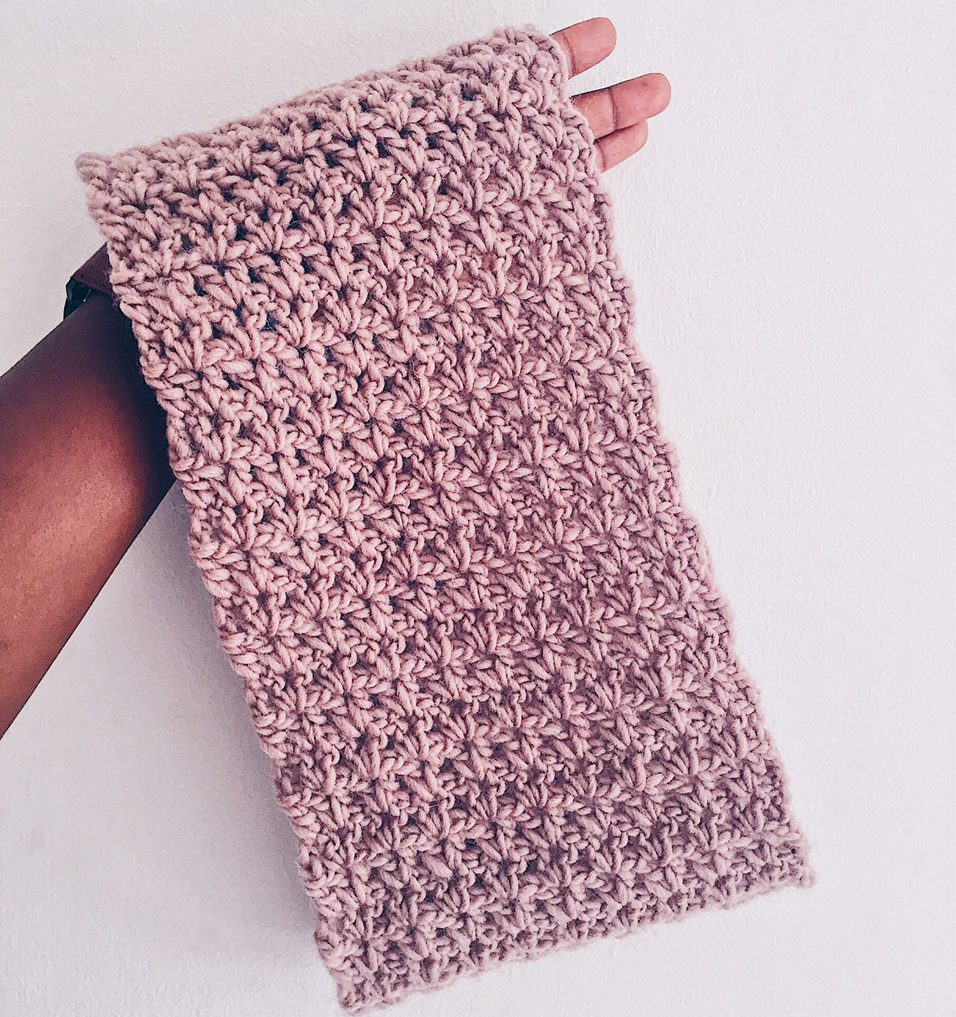
©Handmade by Kunbi
This cowl is a quick and easy project, and is perfect for beginners. I particularly love the swirly pattern on the edges of the cowl…so gorgeous. The pattern works up quickly and is a must-have accessory for any fashionista’s wardrobe!
You ready? Let’s do this!

©Handmade by Kunbi
*This pattern is not sponsored by We Are Knitters, I love The Petite Wool and typically have a few in my yarn stash*
Supplies & tools:
- 1 ball of We Are Knitters’ The Petite Wool in Spotted Mauve
- Size J (6.0mm) crochet hook
- Darning/tapestry needle
- Scissors
Abbreviations:
Ch – chain
DC – double crochet
Sp – space
Sts – stitches
V-st – v-stitich
Skill level: Beginner
Special stitch:
V-st = [DC, ch1, DC] in indicated st
Note:
- Pattern is written in US standard terms
- Cowl is crocheted as a flat piece and then seamed together once complete
- Ch3 at the beginning of row 2 counts as dc throughout
- You can adjust the size of the scarf (less wide or wider) by casting on a multiple of 3 stitches plus 1. To make the scarf longer, repeat row 2 until you reach your desired height. Don’t forget you’ll need more than one skein of yarn if you would like the cowl wider or longer
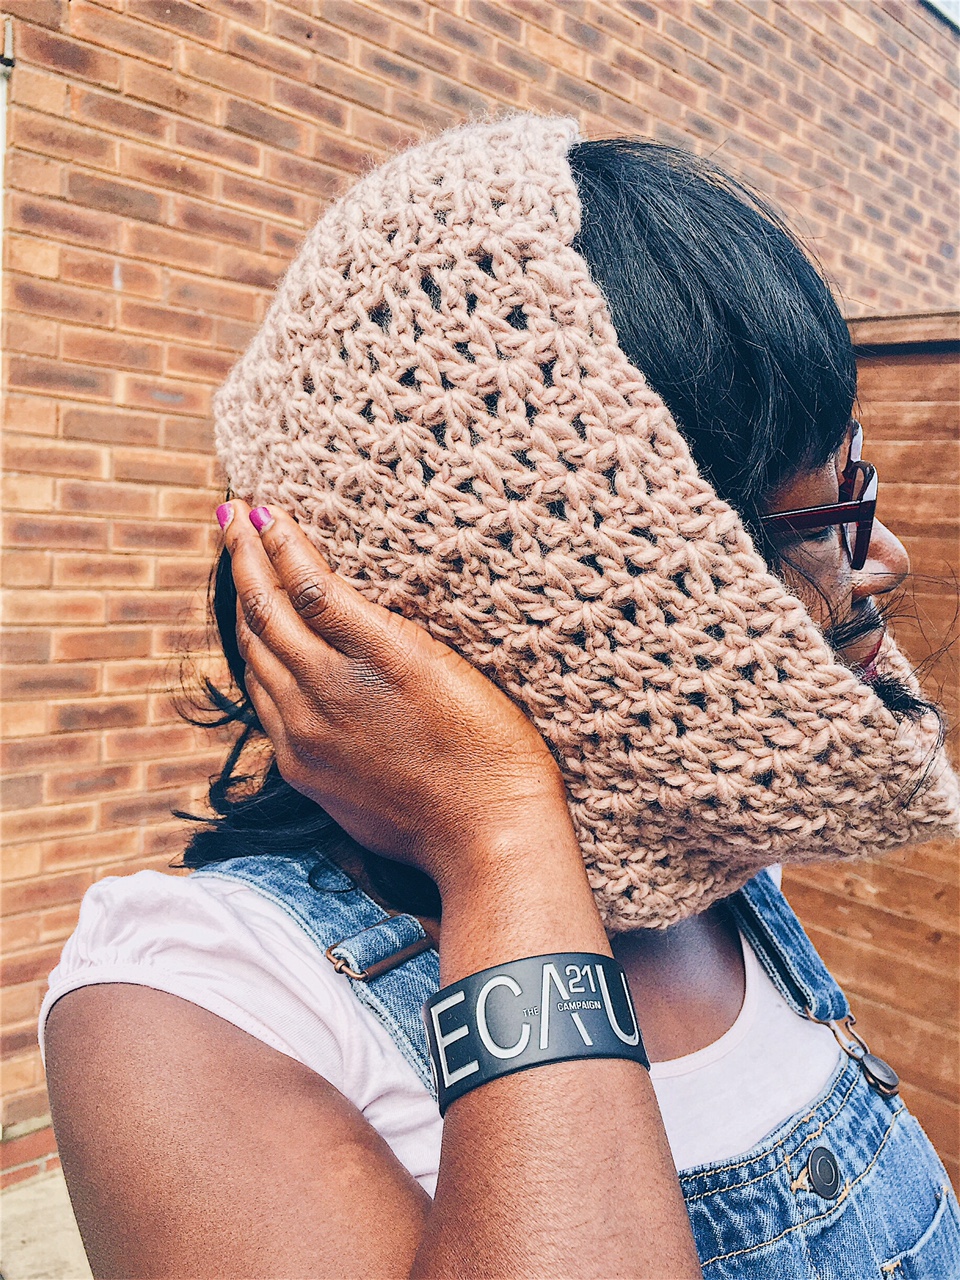
©Handmade by Kunbi
Pattern:
With size J (6.0mm) crochet hook, ch 31 sts
Row 1: V-st in 5th ch from hook, *skip next 2 ch, v-st in next ch; repeat from * across, ending with skip next ch, dc in last ch, turn
Row 2: Ch3 (counts as dc here and throughout), skip first st, *v-st in next ch1 sp; repeat from * across, ending with dc in the top of turning ch, turn
Repeat row 3-47: Repeat row 2
Fasten off, leaving a long tail for seaming to form the cowl
Seaming:
Lay your cowl flat and bring the sides together. Use a tapestry needle to sew the sides using the mattress stitch perfectly explained in this video:
…And you’re done! Well done you! Now go show that baby off.
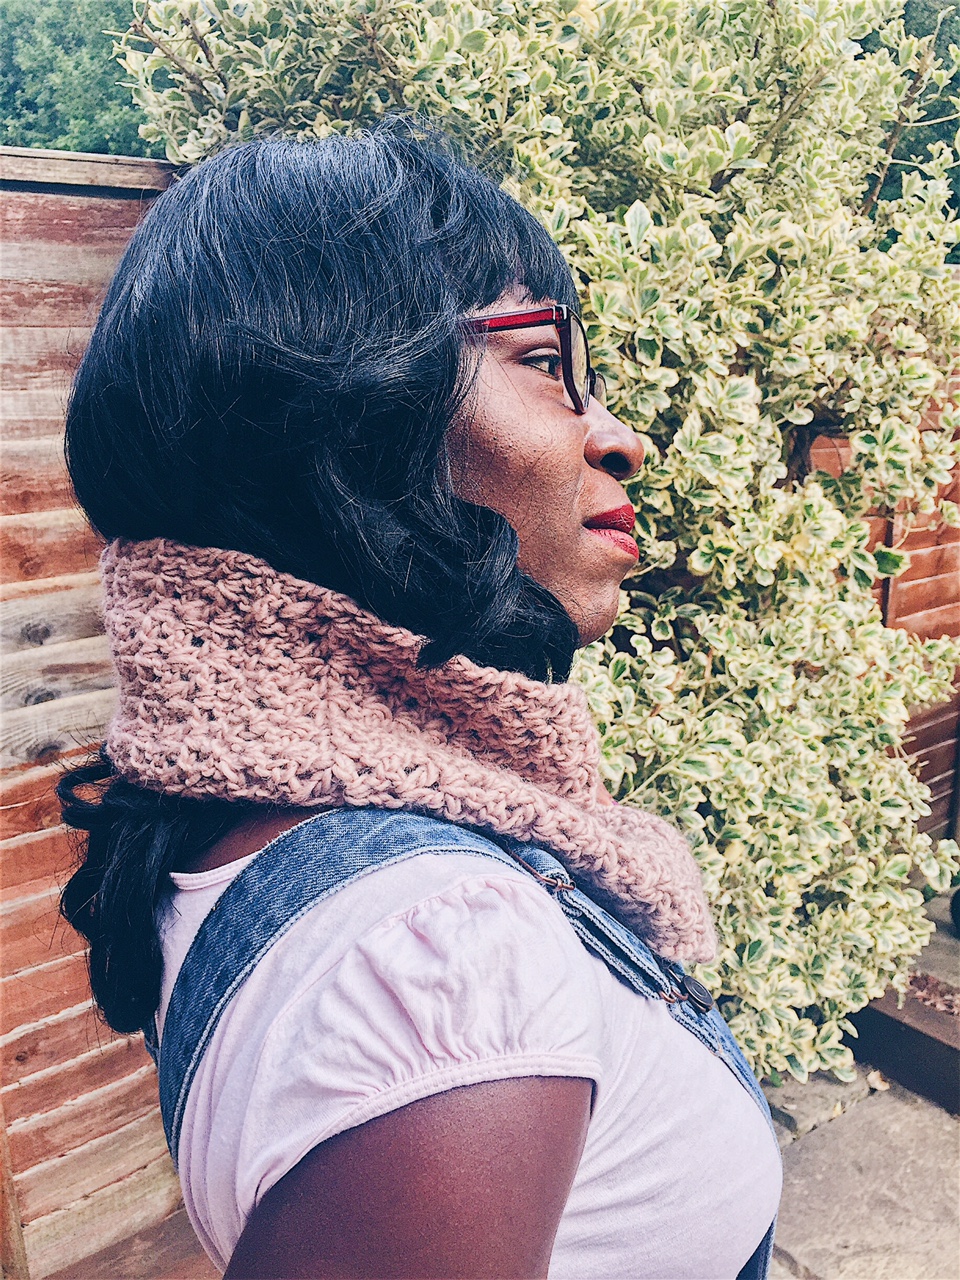
©Handmade by Kunbi
I would love to see your finished project, please tag me in your photos on social media:
Instagram: @handmadebykunbi
Facebook: Handmade by Kunbi
Happy crocheting lovelies!

