Hey there hey, my friends!
I come bearing a pattern that should have been released nearly three years ago!! I know, I know, that’s a long time. This one’s been a rather strange one for some reason because I have designed and released other patterns since this one was designed. Buuuut, we shall wait no longer…hahaa!
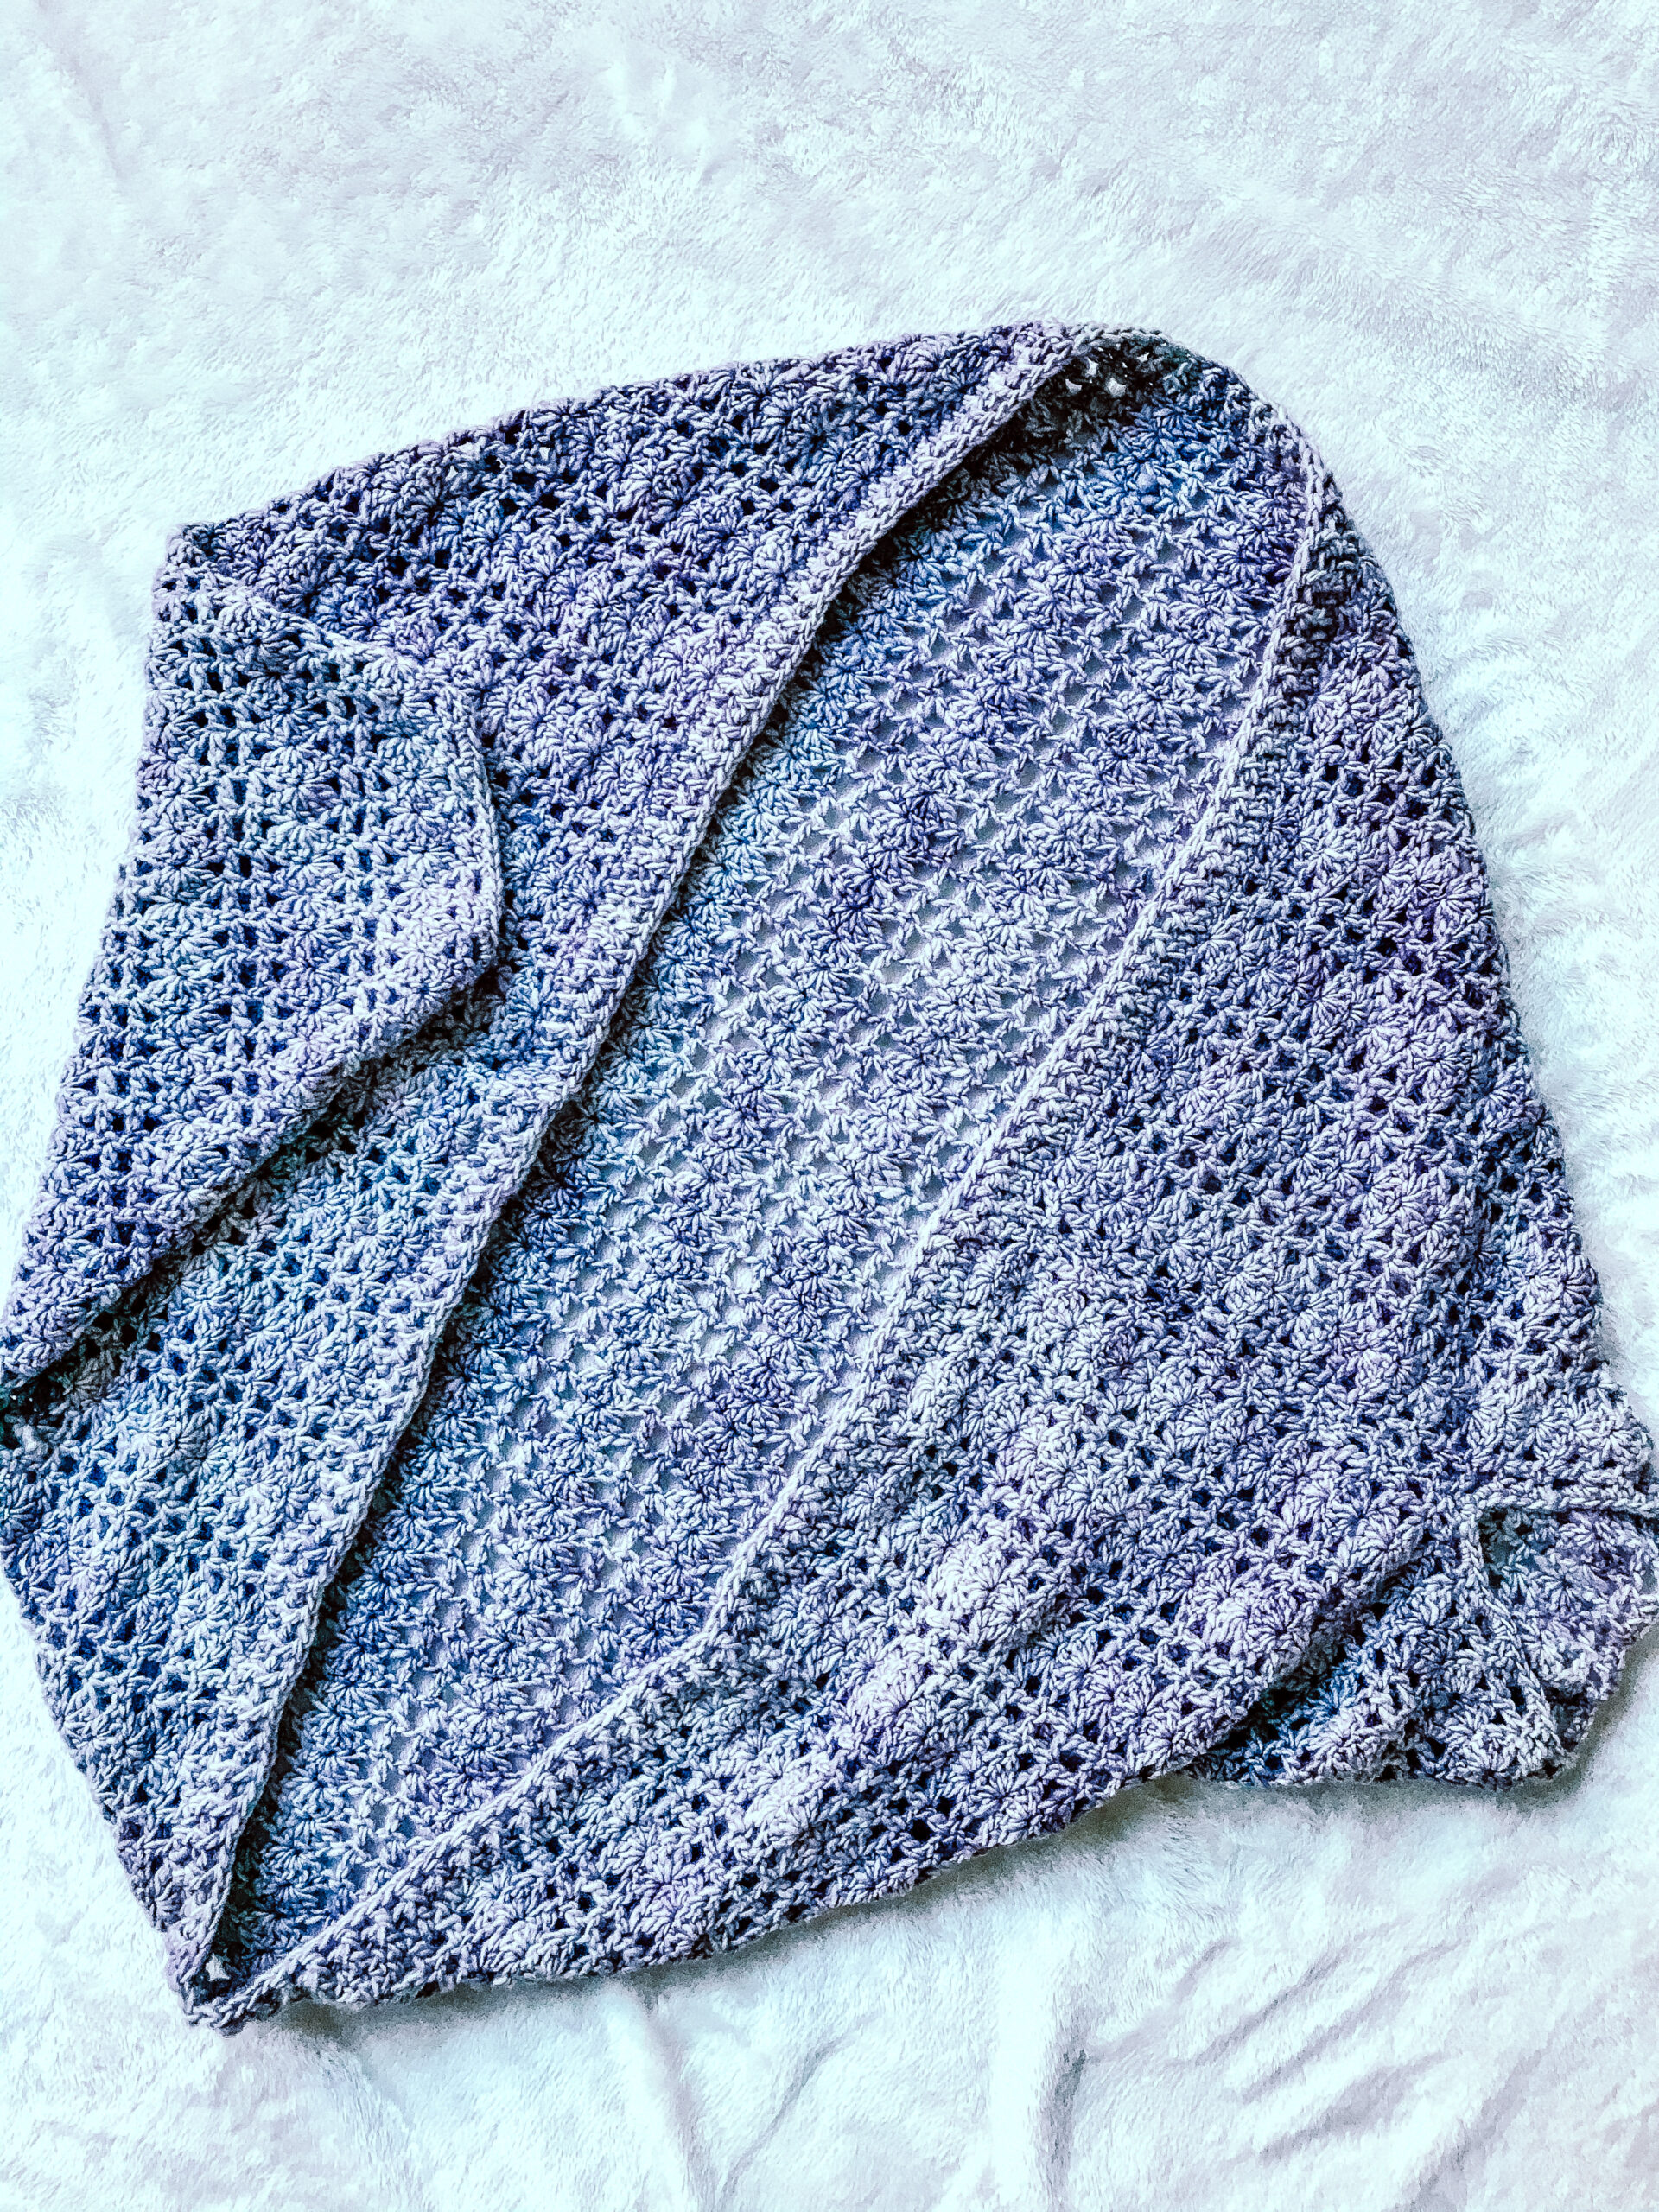
If you’re looking for a quick crochet cocoon cardigan that looks absolutely fabulous and can be dressed up or down, then this is right up your street!
The Spring Breeze Crochet Cocoon Cardigan is perfect if you are looking for a quick project to work on. It is crocheted flat using a fun and easy-to-remember stitch pattern that makes it a breeze to create. The stitch pattern is repeated throughout the project, making it a great choice for crocheters who prefer to work on autopilot, read or watch TV without having to constantly refer to a pattern.
The versatility of the Spring Breeze Cardigan allows you to dress it up or down for any occasion and that’s another thing I love about it…plus, you guessed it, it’s lacey!
To create this beaut of a cocoon cardigan, you will need worsted weight yarn (I used Malabrigo Worsted for the sample pictured) and a 5 mm (US H/8) crochet hook. So, let’s get to it!

SKILL LEVEL
Intermediate beginner
GAUGE
2 pattern repeats (row 3) = 4” (Width)
7 rows of pattern (row 3)= 4” (Height)
(Blocked sample)
SIZES
XS (S/M, M/L, L/XL, XL/2XL, 2XL/3XL, 3XL/4XL, 4XL/5XL)
FINISHED MEASUREMENTS
| Size | Wingspan (before armhole edging) | Length |
| XS | 25.5″ | 22″ |
| S/M | 33.5″ | 29″ |
| M/L | 37.5″ | 32.5″ |
| L/XL | 41.5″ | 36″ |
| XL/2XL | 45.5″ | 39″ |
| 2XL/3XL | 49.5″ | 43″ |
| 3XL/4XL | 53.5″ | 46″ |
| 4XL/5XL | 57.5″ | 50″ |
MATERIALS
Yarn
Any worsted weight yarn that meets gauge
Yardage
427 (739, 927, 1137, 1350, 1620, 1873, 2188) metres / 467 (809, 1014, 1244, 1477, 1772, 2049, 2393) yards
Needles
Size 5 mm (US H/8) crochet hook
Notions: Stitch marker x2, darning/tapestry needle, measuring tape
ABBREVIATIONS
Bpdc – Back post double crochet
Ch – Chain
Dc – Double crochet
Fpdc – Front post double crochet
RS – Right side
Sc – Single crochet
Sk – Skip
St – Stitch
Sts – Stitches
| SPECIAL STITCH Shell: Work 5 dc in specified st; shell made |
| ADJUSTMENTS You can adjust the width (wingspan) of the cardi (less wide or wider) by chaining a multiple of 8 stitches plus 4 You can adjust the length (shorter or longer) by reducing or increasing the amount of rows you crochet Please bear in mind that you will need more yarn if you are increasing the length or width of the cardi. |
PATTERN
With size 5 mm (US H/8) crochet hook, chain 100 (132, 148, 164, 180, 196, 212, 228)
Row 1: Sc in 2nd ch from hook and in each rem ch; ch 4 (counts as a dc and ch-1 sp on following row), turn.
Row 2: Sk next st, dc in next st; *sk 2 sts, shell in next st, sk 2 sts, dc in next st, ch 1, sk next st, dc in next st; rep from * across; ch 4, turn.
Row 3: Dc in next dc; *shell in center dc of next shell, sk next 2 dc on same shell, dc in next dc, ch 1, dc in next dc; rep from * across, end with dc in 3rd ch of turning ch; ch 4, turn.
Rep row 3: 39 (51, 57, 53, 68, 75, 81, 88) times more
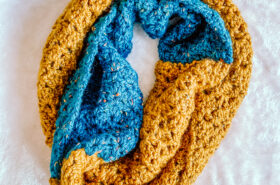
Seaming
Fold your rectangle lengthwise as shown below, so that the length is halved, that is 11 (14.5, 16.25, 18, 19.5, 21.5, 23, 25)”

Right and left arm holes
Measure 6.5 (7, 7.5, 8, 8.5, 9, 9.5, 10)” from the folded edge of your rectangle and use a stitch marker to mark this point. Using the edges of your rectangle, sew up from the bottom to the stitch marker.
Armhole edging x2
Join your yarn with slip st under the armpit area. Ch1, sc evenly around the edge of your armhole. Slip st in top of first sc
Cardigan edging
With RS facing, join yarn with slip stitch at the left or right edge of your cardigan.
Ch3, work dc evenly around the edge of your cardigan. Slip st in top of first dc. The number of dc sts you end up with will vary; I suggest between the following numbers:
XS: 196–200
S/M: 260–264
M/L: 292–296
L/XL: 324–328
XL/2XL: 356–360
2XL/3XL: 388–392
3XL/4XL: 420–424
4XL/5XL: 452–456
Ch3, fpdc around first dc, bpdc around next dc, *fpdc around next dc, bpdc around next dc; rep from * around. Slip st in top of first dc
Weave in all ends.
….and you are done! Go ahead and rock that baby!!

I really hope you enjoy making and rocking the Spring Breeze Cocoon Cardi. I would love to see your finished project, please tag me in your photos on social media using #kunbidesigns and #springbreezecocooncardi
Instagram: @handmadebykunbi
Facebook: Handmade by Kunbi
Happy crocheting lovelies!